Homemade Baby Food Recipes for Stages 1-3

by Baby Earth
Jul 05, 2018
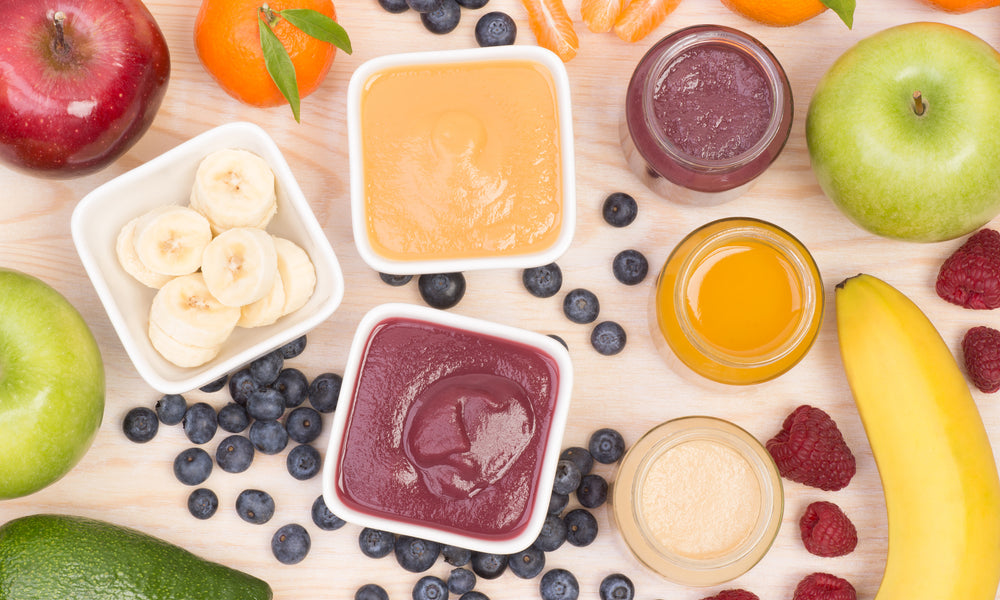
Homemade baby food may seem like an impossible task, especially to a first-time mom, but it's not as hard as you might think, and it's definitely worth the effort.
Homemade baby food tastes better and gives you the peace of mind of knowing exactly what you're baby is eating. It also gives you the freedom and flexibility to change up the combinations and textures of your child's food to fit his or her needs.
Stage One Baby Food: What Is It and When Do I Start?
Stage one baby is the first foods your child will be introduced to, starting at approximately 6 months of age. In the past, some doctors would recommend starting your child on solid food as early as 4 months of age, but the American Academy of Pediatrics recommends that you wait until at least 6 months of age before introducing anything other than formula or breastmilk to your baby.
Stage one baby food should have a thin, smooth texture due to the fact that your child may still have a strong tongue-thrust reflex. Food at this stage shouldn't have much texture because if it did, it could cause your child to choke or gag.
Article Continues Below Advertisement
At this stage, you also want to use mostly single ingredient meals, and you will want to introduce one food at a time and wait a few days before introducing a new food to make sure your child doesn't react to that specific food.
Stage One Baby Food Recipes
For food at this stage, you will need a blender, food processor, Baby Bullet or hand blender.
Also, for everything except bananas and avocados, you will need to cook it before blending, but make sure you don't use any oil or butter in the cooking process because it's hard for babies to digest fat and dairy at this young age. To cook the vegetables and fruit, you can steam, boil or roast them in the oven.
To steam fruits and vegetables, you can either use a pan with a steaming insert or put a small amount of water in the bottom of a saucepan, cover, bring to a boil and let cook until vegetables are very tender (Note: Make sure that you use enough water so that it doesn't boil dry before the vegetables are cooked - about a half an inch to an inch of water in the bottom of the pan).
Article Continues Below Advertisement
To roast your fruits and vegetables, set your oven to 400 degrees, lay your fruits or vegetables out in a single layer on a sheet pan, and roast until tender - roasting time will depend on what you are preparing.
Once your fruits and vegetables are ready, add them to your blender, food processor or baby bullet, add a small amount of water and blend.
After blending until smooth, check consistency. If the food is still too thick, add more water until the fruit or vegetable has a smooth, liquid texture.
Article Continues Below Advertisement
Stage Two Baby Food: What Do I Introduce Now and When Do I Introduce It?
Stage two baby food is when you will start introducing more texture and combinations into your child's diet. This stage usually starts around 7 to 8 months of age.
Instead of blending your child's food until it's thin and smooth, at stage two you can leave a bit more texture in his or her food. You can also start creating delicious combinations with foods that you've already introduced. However, with new foods, you need to continue introducing one every few days to continue to look for reactions.
This is the stage where you can also start introducing allergy risk foods, such as eggs, nut butters (yes, nut butters, including peanut butter - I explain why here), and fish. This is also a great time to introduce yogurt and certain cheeses (such as cheddar or parmesan) into your child's diet.
Article Continues Below Advertisement
Homemade Stage Two Baby Food Recipes
Oatmeal and Peanut Butter
Ingredients
1/2 c. Old Fashioned Oats
1 c. Water
1-2 T. Peanut Butter
1/4 t. Cinnamon (optional)
Directions
Bring water to rolling boil, add in oats, and reduce heat to medium. Cook until water is absorbed and oats are soft. Stir in peanut butter and cinnamon. Let cool and serve.
Yogurt and Cinnamon Apples
Ingredients
1/2 c. Plain yogurt
1 Apple
1T. Butter
1/4 t. Cinnamon (optional)
Directions
Peel and chop the apple into small, bite-size pieces. Add apple and butter to a skillet and sauté until apple is very tender. Add in cinnamon and stir until combined.
Allow apple to cool and then mash into small pieces with fork or potato masher. Mix apple into plain yogurt and serve.
Stage Three Baby Food: What Do I Feed My Baby Who is Becoming More Independent?
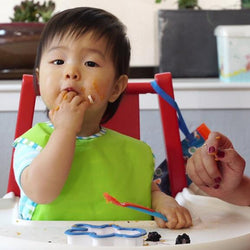
Stage three baby food is all about fostering your child's mealtime (and snack time) independence. During this stage, you will feed your child food that he or she can feed himself or herself. This includes thicker food that he or she can eat with a utensil and finger foods.
Some wonderful and nutritious finger foods are soft cooked vegetables, soft fruits, pasta, scrambled eggs and cheese. When choosing finger foods make sure to avoid foods that are choking hazards, such as hot dog, hard raw vegetables such as carrots and celery, whole grapes, whole nuts and seeds and hard candies.
Homemade Stage Three Baby Food Recipe
Pasta Parmesan with Peas

Ingredients
1/4 c. Dry pasta - shells, elbows or ditalini work best.
1 T. Unsalted butter
2 T. Parmesan cheese
2 T. Frozen peas
Directions
Cook pasta until very soft - not al dente. Mix in butter until melted and combined and then add parmesan cheese and peas. Stir and cook mixture until combined and peas are cooked through.
Storing Blended Baby Food
As I explained in my article on stage one baby food, the easiest way to have homemade baby food available at all times is to make a large batch and freeze it. This makes it easy to just thaw what you need each day.
The best way I've seen to freeze baby food is to freeze it in ice cube trays. Each cube is equal to approximately one ounce so that you can measure your baby's food out according to cubes.
The recipes included above are just a sampling of the many, many options that you have for easy, healthy homemade baby food. It may seem daunting at first to start making your own baby food, but hopefully, you'll soon find out that it's easier than you thought, and it is worth the effort.


